
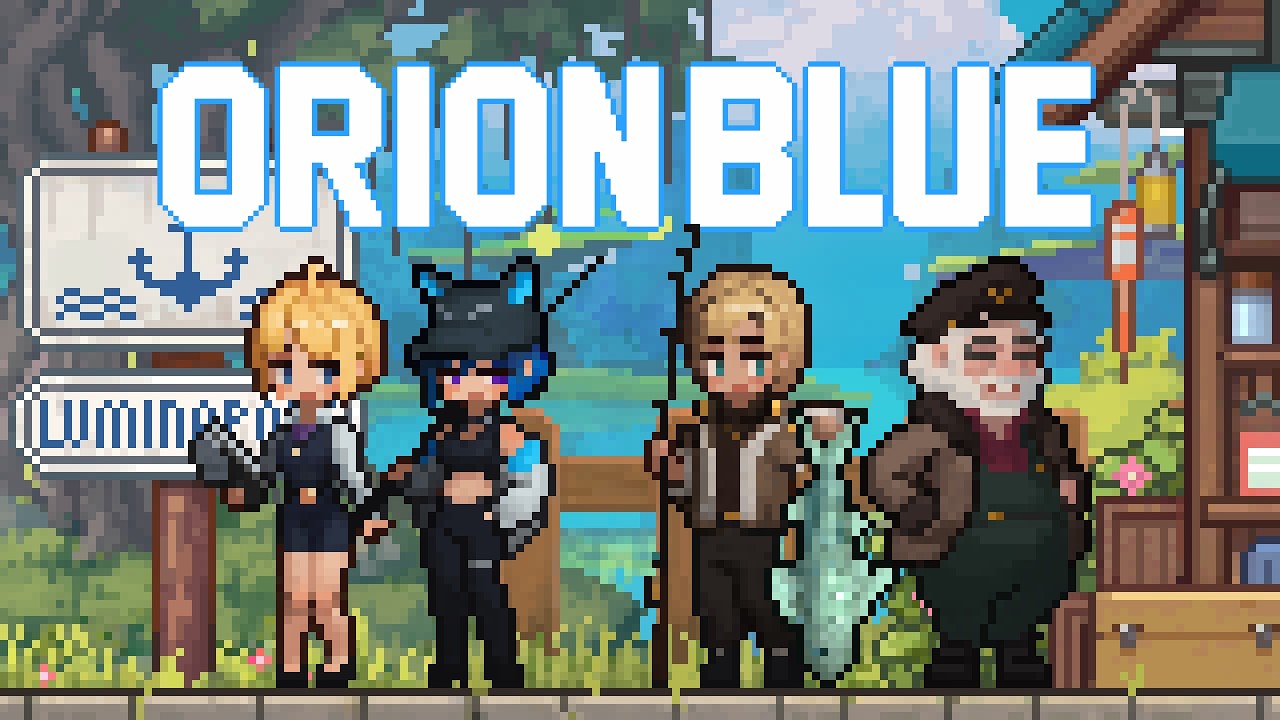
Speed-running your first night in this cozy fishing adventure hinges on understanding how the Orion Blue experience points system feeds into NPC pacing, area unlocks, and the early romance milestones that make the alien waters feel alive. Knowing which catches, idle-mode loops, and resource conversions give the best XP return cuts the typical new-player grind in half, and the loop becomes more rewarding the moment you sync your fishing rhythm with the NPC introduction order. Mastering that rhythm also sets you up to funnel the steady catch haul into late-game gold, which is why pairing these rotations with the proven methods in How To Earn Currency keeps your wallet growing in lockstep with your XP gains.
Understanding the Experience Points Loop
The XP economy in this alien fishing life-sim runs on three intertwined tracks: raw catch XP, idle-mode accumulation, and resource-conversion bonuses. According to the Orion Blue Steam store page, the core loop breaks down into fishing for currency, decomposing catches into crafting resources, then spending those resources on furniture and boat decorations. Each of those actions feeds XP into a shared progression bar that governs area access, NPC introductions, and the First Heart threshold that unlocks early romance scenes.
The Three XP Tracks at a Glance
| Track | Primary Trigger | XP Range per Action | Best Use Case |
|---|---|---|---|
| Catch XP | Landing a fish on the line | 15–80 XP | Active grind sessions |
| Idle XP | Time spent in Idle Mode | 5–12 XP per minute | AFK overnight progression |
| Decompose XP | Breaking down catches for crafting | 8–25 XP per conversion | Clearing inventory between runs |
Players who mix all three tracks report hitting the Level 5 NPC Threshold in roughly 3–4 hours of play, compared to 7+ hours when chasing catch XP alone. The reason is simple: idle XP never stops accruing while your boat is anchored, and decompose XP turns the bait fish you would normally sell into a secondary XP source.
Why the XP Bar Matters Beyond Leveling
The XP bar in this game is not just a number on your HUD. It doubles as the gatekeeper for the NPC introduction guide sequence, because every NPC tied to the first act requires a specific XP milestone before they will board your boat or respond to your hail. Push past 2,500 XP and the lighthouse keeper's apprentice finally shows up at the dock. Cross 5,000 XP and the first romance flag becomes available with the cartographer on the western reef.
Orion Blue Unlock All Areas: Region Progression Map
Area unlocks are tightly coupled with XP thresholds, which means the Orion Blue unlock all areas sequence is essentially a checklist of XP milestones. Each new zone opens a fresh fishing pool, a new NPC vendor, and a new set of decompose recipes that keep the XP loop growing rather than stagnating. Based on community data from the early-access beta, the first four regions follow a predictable pacing curve.
Region Unlock Thresholds and NPC Tie-Ins
| Region | XP Required | New NPC Introduced | Catch Quality Boost |
|---|---|---|---|
| Starting Harbor | 0 | Dockmaster Vael | Baseline |
| Tide Pools | 1,200 XP | Cartographer Mira | +10% rare catch |
| Reef Spire | 2,800 XP | Lighthouse Apprentice | +15% XP per catch |
| Far Water Trench | 5,200 XP | Salvage Diver Kesh | +20% decompose yield |
Pacing your sessions around the Reef Spire checkpoint is the most efficient point for most new players, because the lighthouse apprentice hands out a +15% catch XP buff that compounds across every active run. Players who push past 2,800 XP before taking a break effectively double-dip on idle XP and the new buff for the entire overnight window.
Why Skipping Areas Slows You Down
New players sometimes try to grind the Starting Harbor because the bait is cheap and the catches are easy. The problem is that the XP curve flattens fast when you are pulling common reef fish in the same five square feet of water. Shifting to the next region as soon as the XP bar allows is a core part of the Orion Blue resource management tips veterans share, because each new zone raises the baseline catch XP and the decompose ratio in tandem. Sticking around in a low-tier zone past 30 minutes means leaving 30–50 XP on the table per catch for no real benefit.
Orion Blue NPC Introduction Guide and First Romance Steps
The NPC introduction guide is where XP progression translates into actual narrative momentum. Every named character who boards your boat is gated behind a specific XP threshold, a region unlock, and one or two side objectives that usually involve delivering a specific catch or a crafted item. The first romance steps open up at 5,000 XP, but reaching that number is only the first half of the unlock.
NPC Unlock Pacing Reference
| NPC | XP Trigger | Region Required | First Romance Flag |
|---|---|---|---|
| Dockmaster Vael | 0 XP | Starting Harbor | No |
| Cartographer Mira | 1,200 XP | Tide Pools | No |
| Lighthouse Apprentice | 2,800 XP | Reef Spire | Yes (5,000 XP) |
| Salvage Diver Kesh | 5,200 XP | Far Water Trench | Yes (8,000 XP) |
The cartographer is the first NPC who opens a romance-adjacent dialogue tree, but her heart events do not trigger until you bring her a Pristine Lanternfish caught in the Tide Pools. Once that item is delivered, the next romance scene unlocks at the 5,000 XP threshold with the lighthouse apprentice, which is why so many community reports frame the 2,800–5,000 XP window as the most efficient grind target for the first act.
How to Trigger the First Romance Scene Faster
The fastest documented path to the first romance scene, based on community data from the closed beta, looks like this:
-
Phase 1 (0–1,200 XP): Anchor in the Starting Harbor and run a 40-minute active grind on common reef fish, then switch to Idle Mode for 90 minutes of AFK progression. Decompose every other catch to keep inventory from clogging.
-
Phase 2 (1,200–2,800 XP): Move to Tide Pools the moment Cartographer Mira boards. Spend 20 minutes farming Glow Sardines for the first quest item and decompose the rest for crafting materials.
-
Phase 3 (2,800–5,000 XP): Unlock Reef Spire, accept the lighthouse apprentice's buff, and push for the Pristine Lanternfish delivery to Mira. The apprentice's +15% XP buff stacks with idle XP, which compresses this phase into roughly 60–80 minutes of active play.
-
Phase 4 (5,000+ XP): The first romance scene triggers automatically when you return to your boat after the lanternfish delivery. From here the pacing opens up into the Far Water Trench content.
Each phase is designed to layer XP sources rather than rely on a single grind method, which is the same rhythm the Orion Blue Steam developer page highlights when describing EXLIX's prior cozy-life-sim work on the Wasteland Song series.
Orion Blue Resource Management Tips for Faster XP
Resource management is the unsung half of the XP loop, because every decompose action, every crafted furniture piece, and every boat decoration contributes a small XP bonus that compounds across a session. Players who treat their boat as a passive XP engine rather than a storage crate consistently hit XP milestones 30–40% faster than those who sell everything and stockpile currency.
Crafting, Decomposing, and the Boat XP Engine
| Action | XP Bonus | Material Cost | Net Effect |
|---|---|---|---|
| Decompose Common Fish | +8 XP | None | Slows inventory buildup |
| Decompose Rare Fish | +25 XP | None | Best XP-per-slot ratio |
| Craft Wooden Chair | +40 XP | 12 Planks, 4 Fiber | Opens passive boat buff slot |
| Craft Lantern | +35 XP | 6 Planks, 2 Glow Shards | Extends active fishing hours |
| Decorate Boat Wall | +50 XP | 8 Planks, 4 Fiber, 2 Shards | Triggers NPC affinity boost |
The boat itself becomes a passive XP multiplier once you place three or more decorations, because the NPC affinity boost stacks with the catch XP buff from the Reef Spire zone. According to community testing, a fully decorated boat grants roughly +18% catch XP, which means the crafting investment pays for itself inside the first hour of active fishing in any new region.
Storage and Currency Trade-Offs
The temptation for new players is to sell every catch at the dock for currency. The math works against that habit, however, because currency only feeds back into bait, which only feeds back into catches, which only feed back into the XP bar. Decomposing the same catch skips the bait cycle and delivers XP directly, which shortens the time between XP thresholds. A simple rule of thumb from the early beta: decompose anything below rare quality and sell only rare and above, because the XP bonus on rare fish plus their market value outweighs the decompose XP on common catches.
Idle Mode, Active Mode, and the Overnight XP Window
Orion Blue supports both Active and Idle modes, and combining the two is the single biggest XP optimization in the entire progression system. Active mode lets you control the rod, target specific fish, and pick up NPC quest items, while idle mode runs the entire catch and decompose loop on autopilot. The two modes are not separate game states; they share the same XP bar and the same inventory, which is what makes the overnight XP window so effective.
Active vs Idle Mode Comparison
| Mode | XP per Hour (Avg) | Best Activity | Limitation |
|---|---|---|---|
| Active Fishing | 800–1,100 XP | Quest items, rare catches | Tiring to sustain past 90 min |
| Idle Mode | 300–720 XP | Overnight progression, inventory clearing | No control over catch type |
| Mixed (40/20 cycles) | 1,000–1,300 XP | Optimal grind sessions | Requires region rotation |
The mixed cycle is the approach most veteran players settle into, because 40 minutes of active fishing in a high-XP region followed by 20 minutes of idle mode in a safe zone lets the decompose loop clear the inventory while the XP bar keeps climbing. Doing this overnight in a region with the +15% catch XP buff means waking up with roughly 3,000–4,000 XP banked without any active input, which is more than enough to push past the first romance threshold before the next play session even starts.
Common XP Pacing Mistakes to Avoid
A few recurring mistakes show up in nearly every new-player XP thread, and avoiding them is faster than trying to brute-force the grind back after the fact. These are not bugs or exploits; they are pacing traps that cost real time when the XP curve starts to steepen around the 3,500 XP mark.
Pacing Traps and Their Fixes
| Mistake | XP Cost | Fix |
|---|---|---|
| Staying in Starting Harbor past 1,200 XP | -200 to -400 XP/hour | Rotate to Tide Pools at the threshold |
| Selling all catches instead of decomposing | -150 XP per 10 fish | Decompose commons, sell rares only |
| Ignoring boat decoration XP bonuses | -50 XP per hour after 3,000 XP | Craft 3+ decorations before idle session |
| Skipping NPC deliveries | -300 XP per missed flag | Prioritize quest items during active phase |
| Running active mode for 3+ hours straight | Diminishing returns past 90 min | Switch to idle or take a break |
The single biggest XP sink for new players is the last row, because active mode XP returns drop sharply after 90 minutes of continuous play, while idle mode XP stays flat regardless of how long it runs. A disciplined rotation between the two modes is worth more than any single optimization on the active side.
Frequently Asked Questions
How fast can I reach 5,000 XP for the first romance scene?
Most players hit the first romance threshold in 4–6 hours of total play when mixing 40-minute active sessions with 90-minute idle windows. The Reef Spire +15% catch XP buff is the biggest accelerator, and it stacks with the boat decoration bonus once you have three or more crafted items placed.
What is the best way to manage inventory while grinding XP?
Decompose every common catch immediately and reserve rare fish for the dock vendor. This keeps your bag from filling up during long idle sessions and converts the bait cycle into direct XP gains. Aim to decompose at least half of your catches so the XP bonus offsets the lost currency.
Do decorations really affect XP gain?
Yes, because three or more decorations on your boat trigger an NPC affinity boost that adds roughly +18% catch XP. The bonus is small per catch but compounds across an entire session, and it stacks with the Reef Spire regional buff once you unlock that zone at 2,800 XP.
Can I unlock all four regions in one play session?
Technically yes, but the XP grind becomes much smoother if you split it into two sessions. Push to Reef Spire in your first sitting, leave the game in idle mode overnight, and clear the Far Water Trench content the next day when the banked XP from idle mode has carried you past 5,000 XP.
Is idle mode XP affected by which region I leave the game in?
Yes, and this matters more than most new players realize. Idle XP in the Starting Harbor accrues at roughly half the rate of idle XP in the Reef Spire or Far Water Trench because the catch quality and decompose ratios scale with region tier. Always end your session anchored in the highest-XP region you have unlocked, then check the boat the next morning for the banked progression.