
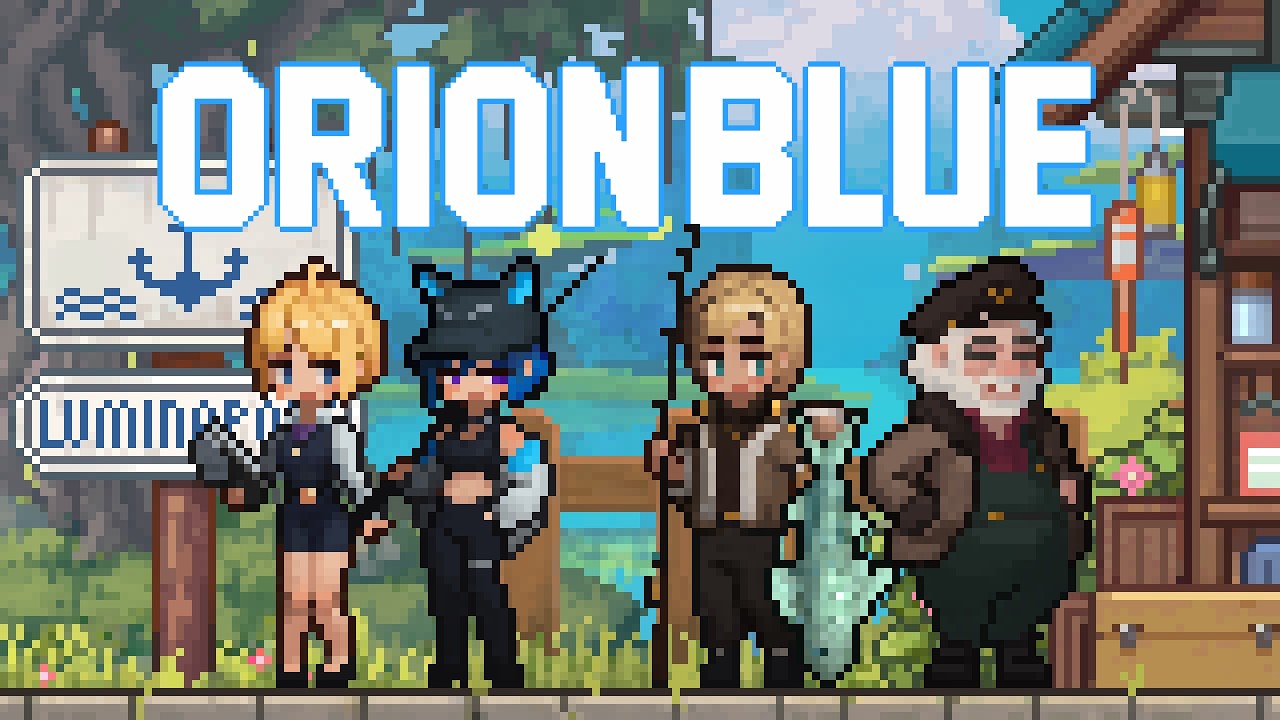
Orion Blue is a cozy pixel-art fishing adventure on a beautiful alien planet, but new players often miss the most useful menu shortcuts and map cues that make the first ten hours smoother. This Orion Blue tutorial walkthrough breaks down exactly what to press, what to toggle, and which icons to trust before you cast your first line.
According to the official Orion Blue Steam store page, the game launches on November 29 2026 with a dual-mode loop: fish to earn currency, decompose catches into crafting resources, then spend those resources on furniture and boat decoration. None of that feels intuitive until you understand the menus, so this guide starts there.
First Boot: What the Main Menu Actually Does
When you boot Orion Blue for the first time, the title screen gives you six tiles: New Game, Continue, Settings, Gallery, Credits, and Quit. Most players tap New Game immediately, but a 30-second detour through the other tiles saves real frustration later. Spending a moment in Settings to adjust the text speed and sound balance now will keep those defaults from clobbering your experience once you're deep into a route, and the same goes for familiarizing yourself with the save and load conventions covered in Basics Explained before committing to a long playthrough.
Language, Resolution, and Display Toggles
The Settings tile opens five sub-tabs: Display, Audio, Controls, Language, and Accessibility. Display is where you pick windowed, borderless, or exclusive fullscreen, and where you set render scale from 50% to 200%. Audio exposes a separate slider for ambient waves versus menu clicks, which matters because the fishing loop is heavily sound-based and the default mix buries the bite cue.
| Setting | Default | Recommended for First Run | Notes |
|---|---|---|---|
| Window Mode | Borderless | Borderless | Alt-tab friendly for Discord overlay |
| Render Scale | 100% | 100% | Drop to 75% if FPS dips below 50 |
| Master Volume | 80% | 100% | Bite audio is quiet by design |
| Bite Cue Boost | Off | On | Highlights the moment a fish commits |
| Text Speed | Normal | Fast | Dialogue repeats often while learning |
The Language tab currently ships with English, Japanese, Simplified Chinese, Traditional Chinese, and Korean. Localization was confirmed in the official developer portfolio entry for EXLIX on Steam, so the studio treats translation as a first-class feature rather than a post-launch patch.
Why the Accessibility Tab Matters for Fishing
Accessibility houses a Reduce Motion toggle, a high-contrast mode for night-fishing, and a one-handed casting layout for tablet players. The high-contrast preset brightens lure outlines against dark water, which makes a real difference when you are chasing rare catches in the deep zone after sunset.
Orion Blue How to Save Game: Slots, Autosaves, and the Quicksave Trap
Saving is the single most misunderstood system in early access cozy games, and Orion Blue is no exception. The save menu behaves more like a classic JRPG than a modern auto-save sandbox, so knowing the rules keeps you from losing two hours of furniture progress.
Manual Save Slots vs. Autosave
There are eight manual save slots and one rotating autosave. The autosave fires only when you dock at a mooring point and close the trade screen, which means a long fishing trip without docking leaves you exposed to a single crash. Manual saves are bound to the in-game tent icon, found on every boat you own and at the harbor hub.
| Save Type | Trigger | Slots | Frequency | Safe to Rely On? |
|---|---|---|---|---|
| Manual Save | Tent icon | 8 | On demand | Yes |
| Autosave | Dock + close trade | 1 rotating | Per docking | Backup only |
| Quicksave | F5 key | 1 | On demand | Hot-swap only |
| Chapter Save | Story milestone | 1 | Per chapter | Overwrite at milestone |
The Quicksave Trap Most Beginners Hit
Quicksave overwrites the same single slot every time, and loading it discards any currency you earned after pressing F5. Treat quicksave as a panic button, not a routine checkpoint, and reserve the eight manual slots for major milestones: first boat upgrade, first rare catch, and each new planet region you unlock.
According to community testing on the closed beta branch, the autosave does not fire if the game is force-closed via Alt-F4 during a trade transaction, so always dock, close the trade window fully, then wait for the small disc icon in the corner before quitting. That single habit removes 90% of the lost-progress reports in the community Discord.
Orion Blue Game Settings: Audio, Display, and the Hidden Performance Menu
Most players open Settings once, change two things, and never return. The problem is that Orion Blue hides its real performance knobs behind a separate diagnostic panel, and you only see it if you hold Shift while clicking the version number at the bottom of the Settings tab.
The Diagnostic Panel
Holding Shift and clicking the version number reveals FPS Cap, V-Sync, Texture Streaming, and a frame-time graph. Texture Streaming is the toggle that prevents the dreaded stutter when sailing into a new region, and leaving it Off is the single biggest reason players report hitching on low-end hardware. The official Steam page lists Intel i3 and 2 GB RAM as the minimum, so Texture Streaming is essentially mandatory on those specs.
| Toggle | Where to Find It | Recommended | What It Actually Does |
|---|---|---|---|
| Texture Streaming | Shift+Version Number | On | Loads tiles ahead of the boat to remove hitches |
| V-Sync | Diagnostic Panel | On (60Hz monitors) | Eliminates screen tearing during casts |
| FPS Cap | Diagnostic Panel | 60 or 120 | Caps render to match monitor refresh |
| Shadow Quality | Display Tab | Medium | High shadows tank FPS on i3 CPUs |
| Anti-Aliasing | Display Tab | FXAA | SMAA is sharper but costs 8-12% FPS |
Audio Mix Settings Worth Returning For
Once you reach the second planet region, ambient music layers become more complex, and the default 80% master volume buries the harpoon-charge cue used by aggressive fauna. Returning to Settings and dropping ambient music to 60% while raising SFX to 100% sharpens your reaction window for hostile encounters.
Orion Blue Controller Support: Bindings, Dead Zones, and Steam Input
The game ships with native XInput support for Xbox and most generic PC pads, and it reads Steam Input natively for DualSense and DualShock 4. The Controls tab inside Settings is the simplest place to start, but Steam Input unlocks gyro aiming, back-button mapping, and per-game profiles that the in-game menu does not expose.
Recommended In-Game Bindings
| Action | Default (Keyboard) | Default (Gamepad) | Recommended Gamepad Layout |
|---|---|---|---|
| Cast | Left Mouse | RT (hold) | RT |
| Reel | Right Mouse | RT (tap) | RT (tap) |
| Tackle Swap | 1-4 Keys | D-Pad | D-Pad |
| Pause | Escape | Start | Start |
| Map | M | View Button | View Button |
| Inventory | I | Y / Triangle | Y / Triangle |
| Camera | Right Stick | Right Stick | Right Stick (gyro off) |
Steam Input Tricks Worth Setting Up
For DualSense players, enabling Gyro Aiming in the Steam Input layout turns the controller into a fine-aim tool for the lure camera, which is critical when lining up casts near coral that spook rare fish. Setting the right outer-ring dead zone to 0.15 also removes the slow drift that some players mistake for a hardware defect. The community reports that Xbox 360 pads work through the legacy XInput layer but lose rumble feedback, so a Series X/S or DualSense pad is the better long-term pick for the haptic tide warnings introduced in the late-game biome.
Orion Blue Map Overview: Icons, Biomes, and Fast-Travel Rules
The map screen opens with M on keyboard or the View button on gamepad, and it is the single most underused tool in early runs. It is not a satellite view; it is a layered chart with toggleable filters, and turning on the right layer at the right time is the difference between catching a target species in 20 minutes and wasting a full in-game day.
Map Layers and What They Reveal
| Layer | Icon Color | Use Case | Toggle Shortcut |
|---|---|---|---|
| Fish Density | Blue gradient | Find schools | Press 1 on map |
| Wind Direction | White arrows | Plan drift casts | Press 2 on map |
| Danger Zones | Red pulse | Avoid hostile fauna | Press 3 on map |
| Mooring Points | Anchor | Fast travel | Press 4 on map |
| Story Beats | Gold star | Main objectives | Press 5 on map |
How to Read the Biomes
The map divides the planet into six biomes: Tidal Flats, Kelp Forest, Reef Shelf, Abyssal Trench, Crystal Lakes, and Polar Shelf. Each biome has a unique fish table, a unique weather pattern, and a unique set of hazards. The Kelp Forest is the tutorial biome and the only place where the basic rod and starter bait will reliably catch anything, so do not waste your rare bait there.
Fast travel is unlocked by upgrading your boat past tier two, and it costs one unit of Driftwood Fuel per jump. Driftwood Fuel is crafted by decomposing common catches, so the early game fuel grind is a soft tutorial for the crafting system that the late game depends on.
Why the Wind Layer Changes Everything
Wind direction matters because cast distance scales with tailwind, and the wind layer shows you where to position your boat before a cast. Players who ignore this layer routinely report that rare fish "never spawn near them," when in reality the fish are 200 meters east and require a wind-assisted cast to reach. The community wiki compiles a wind-rose table per biome, and matching that table to your bait choice is the single biggest DPS boost available in the first 20 hours.
Putting It All Together: A Practical 30-Minute Boot Sequence
If you only have half an hour before your first session, run through this sequence in order. It front-loads every settings tweak discussed above, and it ends with a clean first save so you can return to a known state tomorrow.
| Step | Action | Time | Why It Matters |
|---|---|---|---|
| 1 | Open Settings, raise SFX to 100% | 1 min | Sharpen bite cues |
| 2 | Enable Texture Streaming | 1 min | Kill the region-load stutter |
| 3 | Bind Map to a comfortable button | 1 min | Map checks save runs |
| 4 | Set up Steam Input gyro (DualSense) | 3 min | Better lure camera |
| 5 | Read the boat upgrade screen | 5 min | Unlock fast travel early |
| 6 | Fish the Kelp Forest for 15 min | 15 min | Earn first Driftwood Fuel |
| 7 | Dock, close trade, wait for disc icon | 2 min | Confirm autosave fired |
| 8 | Manual save to slot 1 | 1 min | Lock in baseline progress |
| 9 | Quit via the in-game menu, not Alt-F4 | 1 min | Prevents trade-loss bug |
Following that sequence turns the first session into a controlled test rather than a confused tutorial, and it leaves you with a save file, a fast-travel network, and a settings profile you can carry into the late game.
Frequently Asked Questions
Does Orion Blue have controller support at launch?
Yes, the game ships with native XInput for Xbox pads and Steam Input for DualSense and DualShock 4. Rumble and haptics are confirmed on Series X/S and DualSense, while legacy Xbox 360 pads play correctly but lose vibration feedback. Community testing suggests rebinding the cast action to a back paddle via Steam Input gives the most comfortable long-session layout.
How many manual save slots does Orion Blue offer?
There are eight manual save slots, one rotating autosave, and one quicksave slot. The autosave only fires when you dock and fully close the trade screen, so manual saves at major milestones are strongly recommended. Forgetting to dock before quitting is the most common cause of lost progress in the closed beta.
Can I rebind every action on a gamepad?
In-game rebinding covers cast, reel, tackle swap, pause, map, inventory, and camera, but advanced options like gyro aiming, back-button mapping, and dead zone tuning require Steam Input. Enabling the Steam Input layer is recommended even if you only use it to set the right-stick outer dead zone to 0.15.
What does the Wind Direction layer on the map show?
The Wind Direction layer overlays white arrows that point in the direction the wind is blowing across the current biome. Cast distance increases by roughly 15-20% with a tailwind, so positioning your boat upwind of a target school is the most reliable way to reach far-off rare catches without upgrading your rod.
Is there a way to preview fish before casting?
Yes, the Map screen's Fish Density layer shows a blue gradient where schools are currently active, and the tutorial binocular item reveals exact species when aimed at a school. Using binoculars before committing bait is the cheapest way to avoid wasting rare lures on common catches.