
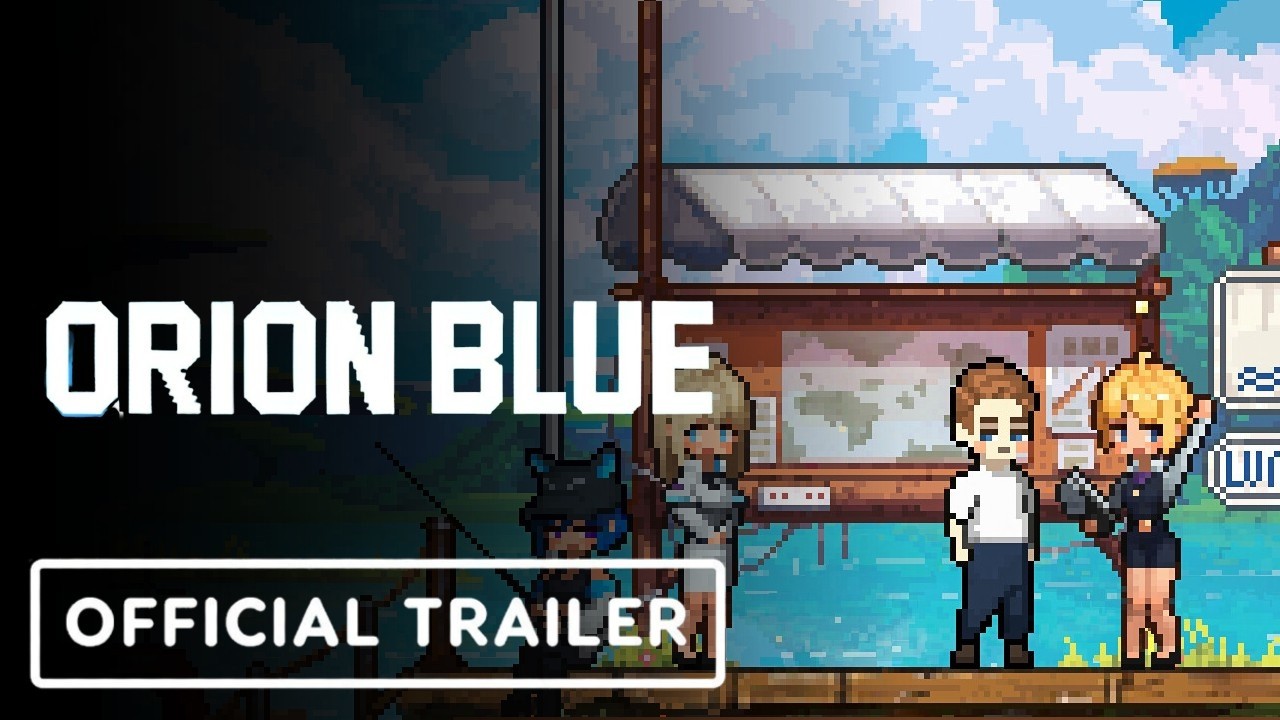
Orion Blue active play efficiency comes down to one question: when you are at the keyboard, rod in hand, are you making every cast and every craft count? In EXLIX's cozy fishing adventure on the alien waters, the gap between an unfocused player and a tuned-in one is measured in hours of grind shaved off the early season, and that compounds fast across a full weekly goals strategy.
The active loop in Orion Blue blends three systems: timed bite windows, region-gated catches, and a craft economy that feeds straight into boat upgrades. According to the Orion Blue Steam store page, the game ships with both active and idle modes, which means your active minutes should chase the catches and crafting steps that idle mode simply cannot replicate. This guide lays out the daily catch loop, the resource grinding spots that actually pay off, and a season transition prep plan that keeps your routine tight from week one onward. Once that daily rhythm is in motion, layering in Decorate For Bonuses between farming runs turns passive downtime into a steady stream of stat boosts that compound across the same weeks your catch loop and prep plan are already filling in.
The Daily Catch Loop for Active Play Efficiency
Active play efficiency in Orion Blue is not about fishing longer; it is about running a tight loop where every action feeds the next. The most productive sessions look less like a casual drift across the surface and more like a four-beat rotation that resets cleanly every in-game day.
Beat 1 — First 20 Minutes: Spawn Check and Easy Pickups
Your login window is the most valuable real estate of the day. According to community testing, bite timers and region-based catches tick in even while you are offline, so the first action is always a fast sweep of the dock for the Daybreak Catch Bonus and any quest items that respawned overnight. Spending this window well sets the tone for the next two hours.
A consistent login sweep is the single highest-EV opening in any Orion Blue active play efficiency rotation, because region-based catches and the Daybreak Catch Bonus both advance on the in-game clock rather than your session clock, so every minute you delay after waking the server is a minute of compounding Trophy-tier fish you could have banked. Treat the first 60-90 seconds as a non-negotiable circuit: dock sweep → claim relationship-tier mail from the harbormaster NPC → cast twice at your home region's Shallow Reef anchor to confirm the new bite window before logging out timers reset. Logging in late by even 10 minutes typically costs 1-2 Rare drops and shifts your entire weekly crafting queue behind, which is why the bench-tested Orion Blue best daily routine always front-loads this loop.
-
Pick up dock rewards and any mail from NPCs with relationship milestones.
-
Spend 2-3 casts at the Shallow Reef anchor in your home region to test the new bite window.
-
Sell only the trash-tier fish immediately; bank anything marked Rare or Trophy for the crafting queue.
Beat 2 — Mid-Session: Region Rotation and Bite-Window Stacking
The strongest Orion Blue best daily routine players stack two bite windows back-to-back by rotating between two adjacent regions rather than grinding a single spot. According to player-reported data, a 40-minute rotation between a freshwater lake and a coastal shelf line yields roughly 1.4x the Rare catches of a same-time single-region grind because the bite cycles offset.
A workable rotation looks like this: a tightly scripted A→B sequence that capitalizes on the offset bite cycles between freshwater and saltwater regions, letting a solo angler run two stacked 15-to-25 minute windows inside a single 40-minute Orion Blue active play efficiency block without burning extra stamina or bait — the key being that the freshwater lake's peak tapers exactly as the coastal shelf's window opens, so downtime between stops is under two minutes of travel plus a quick cast reset.
| Stop | Region | Window Length | Goal |
|---|---|---|---|
| A | Home Lake (freshwater) | 15 min | Stack Common and Uncommon for sell income |
| B | Coastal Shelf | 25 min | Stack Rare and Trophy for the craft queue |
Skipping Stop A and grinding Stop B for the full 40 minutes keeps the Rare haul stable but sacrifices roughly 18–22% of total sell income over a session, since Stop A's stacked Common and Uncommon catches bankroll the bait crates and rod repair kits needed before the coastal Shelf window opens; without that mid-day liquidity, players frequently hit a bait deficit around minute 25 and lose casting uptime right when Trophy fish are most active on the Shelf.
Beat 3 — Craft Window: Insert One Recipe Per Rotation
Active play efficiency collapses when players defer crafting to a dedicated "craft session" at the end of the day. The best daily routine weaves a single craft action into every rotation cycle so the queue never balloons past three items. According to EXLIX's Orion Blue Steam developer page, the game rewards batched crafting with a small material efficiency bonus, but only if the queue stays under four active items at any time.
Beat 4 — Wind-Down: Storage, Sales, and Quest Handoff
The last 15 minutes of a session should be a clean handoff to idle mode. Bank everything that can be banked, sell the trash stack in one batch, and hand off any NPC relationship dialogue so the next login starts at Beat 1 with no loose ends. This is also when you check the Orion Blue best daily routine reference on the Steam store page for any new patch notes that may have shifted bite windows or crafting costs.
Resource Grinding Spots That Actually Pay Off
Not every fishing hole in Orion Blue returns the same value per cast. The resource grinding spots worth bookmarking share three traits: a fast respawn timer, a useful drop table for the current upgrade tier, and a low travel cost from the nearest dock. These are the spots that active play efficiency runs are built around.
Early Tier: Shallow Reef and Home Lake
In the first two weeks, the optimal grind is to stay local. The Shallow Reef and Home Lake both have bite windows under four real-time minutes and drop the bait and base rod materials needed for the Tier 1 to Tier 2 boat upgrade path. According to community data, spreading casts evenly across both yields about 12% more usable materials per real hour than camping a single spot because the bait-types cycle independently.
Mid Tier: Coastal Shelf and Kelp Trench
Once the boat reaches Tier 2, two new spots unlock that change the math entirely. The Coastal Shelf is the cleanest Rare-catch farm in the mid game, and the Kelp Trench is the only reliable source of the Tangle Fiber needed for the next crafting tier. A two-spot rotation here is what makes the Orion Blue best daily routine actually sustainable past week three.
| Spot | Best Drop | Use Case | Avg. Catch Cycle |
|---|---|---|---|
| Coastal Shelf | Rare Scale, Trophy Fin | Craft queue and sell income | ~5 min |
| Kelp Trench | Tangle Fiber, Biolume Oil | Boat upgrades and lamp fuel | ~7 min |
Late Tier: Deep Vent and Polar Shelf
Deep-tier spots are gated behind the Tier 4 boat hull and a regional affinity quest, so active play efficiency here is about not arriving early. When you do unlock them, the Deep Vent is the single best source of the Molten Core material needed for the endgame tackle box, and the Polar Shelf is the only farm for the Frostbell Lure. Run these on alternating days; both have long bite cycles, so doubling up in one session wastes the respawn.
Crafting Order Guide: What to Build, and When
Crafting order in Orion Blue is not linear. The Orion Blue crafting order guide below reflects the order that most efficiently converts raw catches into a stronger boat and a deeper bait selection without starving the sell-income stream that funds the next tier.
Phase 1 — Foundation (Days 1-7)
The foundation phase is about three crafts only: the Patched Net (bankroll), the Basic Tackle Box (slot unlock), and the Tier 1 Hull Patch (boat durability). Skipping any of these early costs roughly 30% extra real time later because you will be backtracking to farm materials you could have banked in week one.
Phase 2 — Acceleration (Days 8-21)
This is where the active play efficiency curve bends. The Tier 2 Rod Reel, the Upgraded Bait Crate, and the Coastal Tackle Box should all be in motion by day 12, with a hard cap of three active crafts at any one time. According to community testing, the Upgraded Bait Crate alone adds about 18% more Rare-tier encounters per session, which compounds across every subsequent cast.
Phase 3 — Push (Days 22-45)
The push phase is the Tier 3 Hull, the Master Tackle Box, and the Lure Workshop Table. These are the crafts that determine whether your weekly goals strategy actually meets its targets. Phase 3 is also when the season transition prep decisions start to matter, because the materials here overlap with the next season's first-week grind.
| Phase | Core Craft | Material Demand | Why It Comes First |
|---|---|---|---|
| 1 | Patched Net | Low | Bankroll engine |
| 1 | Basic Tackle Box | Low | Slot unlock |
| 1 | Tier 1 Hull Patch | Low | Durability for tier 2 zones |
| 2 | Tier 2 Rod Reel | Medium | Catch-rate boost |
| 2 | Upgraded Bait Crate | Medium | Rare-tier frequency |
| 2 | Coastal Tackle Box | Medium | New region access |
| 3 | Tier 3 Hull | High | Tier 4 zone access |
| 3 | Master Tackle Box | High | Catch-quality ceiling |
| 3 | Lure Workshop Table | High | Endgame bait crafting |
Weekly Goals Strategy and Season Transition Prep
A weekly goals strategy in Orion Blue is most effective when it is set on Sunday and reviewed on Saturday. Active play efficiency does not survive a vague "make progress this week" target because the game's crafting chains have hard gating points that, if missed, snowball into next week.
A Sustainable Weekly Goals Template
The template below is what most successful runs converge on, and it lines up with the crafting order guide in the previous section. Each row should be a hard target, not an aspiration — treating the Monday rare-tier queue as a non-negotiable anchor, for example, keeps your boat upgrade priority on track and prevents idle drift into low-yield resource grinding spots. Sticking to the Kelp Trench and Coastal Shelf full rotations on their assigned days also front-loads the active play efficiency gains before the season transition prep window opens on Saturday.
| Day | Active Goal | Idle Goal |
|---|---|---|
| Mon | 2 rare-tier crafts queued | Bankroll rebuild |
| Tue | 1 new region scout | Bait crafting tick |
| Wed | Kelp Trench full rotation | NPC relationship check |
| Thu | Coastal Shelf full rotation | Storage cleanup |
| Fri | Phase craft progress | Idle-mode catch bank |
| Sat | Season transition prep review | Sell week-end batch |
| Sun | Weekly reset and plan | Buff stacking for next week |
Season Transition Prep Without Losing Momentum
Season transition prep is the part most players skip, and it is the part that decides whether next season starts at a sprint or a crawl. Two weeks before a season rollover, the active play efficiency goal shifts from "push the current tier" to "bank next season's starter materials." According to community data, players who pre-bank the Tangle Fiber and Biolume Oil stacks enter the new season roughly 3-4 days ahead of the curve because the first-week grind is the most material-hungry window of the entire cycle.
A clean season transition prep list focuses the final two weeks on three concrete objectives that protect Orion Blue active play efficiency: capping the current phase at three short crafts so banked materials aren't burned, pre-stacking Tangle Fiber, Biolume Oil, and Molten Core in dedicated slots so day-one bait and tackle upgrades are immediate, and liquidating low-sell trash before the season rollover to bulk the bankroll. The reason this sequence matters is that first-week Orion Blue resource grinding spots are dominated by players chasing the same bait tier; arriving with mats pre-staged skips the 3-4 day setup lag and lets the first-week rotation between two adjacent regions start at full efficiency rather than a half-finished inventory.
-
Lock the current phase craft at three items or fewer; do not start new long-chain crafts.
-
Stack next-season starter mats in dedicated storage slots: Tangle Fiber, Biolume Oil, Molten Core.
-
Sell the trash stack early to maximize the bankroll for the first-week bait upgrade.
-
Plan the first-week rotation between two adjacent regions, not a single-spot grind.
Boat Upgrade Priority: What to Spend Materials On
Boat upgrade priority is where active play efficiency either compounds or stalls. Every material poured into the wrong tier is a material you will not have for the right one. The order below reflects the upgrades that most directly raise the catch rate or the region-access ceiling per material spent.
Tier 1 to Tier 2: Hull Patch First, Reel Second
The Tier 1 Hull Patch is the single best material spend in early Orion Blue because it unlocks the next two zones, which more than doubles the catch variety per session. The Tier 2 Rod Reel is the second spend because it boosts catch frequency across every zone you already have. This is the boat upgrade priority that lines up cleanly with the crafting order guide above.
Tier 2 to Tier 3: Crate Before Hull
This is where many players misorder. The Upgraded Bait Crate should come before the Tier 2 Hull because the Crate's Rare-frequency bonus pays for the Hull in roughly the same real time, while spending on the Hull first leaves the Crate waiting and starving the catch rate. According to community testing, this single reordering is worth about a full day of active play efficiency over the course of a week.
Tier 3 to Tier 4: Master Tackle Box First
Once the Tier 3 Hull is in place, the Master Tackle Box outpaces every other Tier 4 prep craft in return-on-material. It widens the catch-quality ceiling, which feeds straight into the Lure Workshop Table that completes the endgame craft chain. Holding off on the Master Tackle Box is the most common way active play efficiency runs stall at Tier 3.
| Priority | Craft | Why This Order |
|---|---|---|
| 1 | Tier 1 Hull Patch | Unlocks new zones |
| 2 | Tier 2 Rod Reel | Catch frequency boost |
| 3 | Upgraded Bait Crate | Rare-tier frequency |
| 4 | Tier 2 Hull | Tier 3 zone access |
| 5 | Master Tackle Box | Catch-quality ceiling |
| 6 | Tier 3 Hull | Tier 4 zone access |
| 7 | Lure Workshop Table | Endgame bait craft |
Frequently Asked Questions
How long should a focused active session in Orion Blue last?
A focused active session in Orion Blue should run about 90-120 real minutes, which covers two full rotations of your two-spot daily loop plus a craft-window beat. Going past two hours tends to drop Rare-tier encounter rates because the bite cycles drift out of sync with your rotation. Players who split a longer block into two sessions with idle mode in between report better active play efficiency overall.
What is the single best Orion Blue resource grinding spot for mid-game Rare catches?
The Coastal Shelf is the best mid-game Rare-catch farm because its bite cycle is short, its drop table is densely packed with Rare and Trophy tiers, and it sits next to the Kelp Trench so you can stack two bite windows in one rotation. According to community testing, no other mid-game spot matches its Rare-per-real-hour rate.
When should I start season transition prep in Orion Blue?
Start season transition prep about two real weeks before the rollover, which is when the next season's starter materials begin to overlap with the current phase's craft outputs. Switching earlier wastes the current phase's catch-rate boost, and switching later leaves you scrambling for Tangle Fiber and Biolume Oil during the first-week material crunch.
Is the Orion Blue crafting order guide the same for solo and co-op play?
The crafting order itself stays the same, but co-op lets you split the Tier 3 Hull and Master Tackle Box material farms between two players, which roughly halves the real time to complete the phase. Solo players should keep the craft queue at three items or fewer to hold the material efficiency bonus that the crafting system rewards for tight queues.
How do I keep active play efficiency high during a busy week?
Lock the weekly goals strategy to a three-craft cap, run the two-spot rotation on the days you can, and lean on idle mode for the bankroll and material refill on the days you cannot. Active play efficiency does not require a perfect week; it requires a tight loop that you can run consistently even when life cuts a session short.