
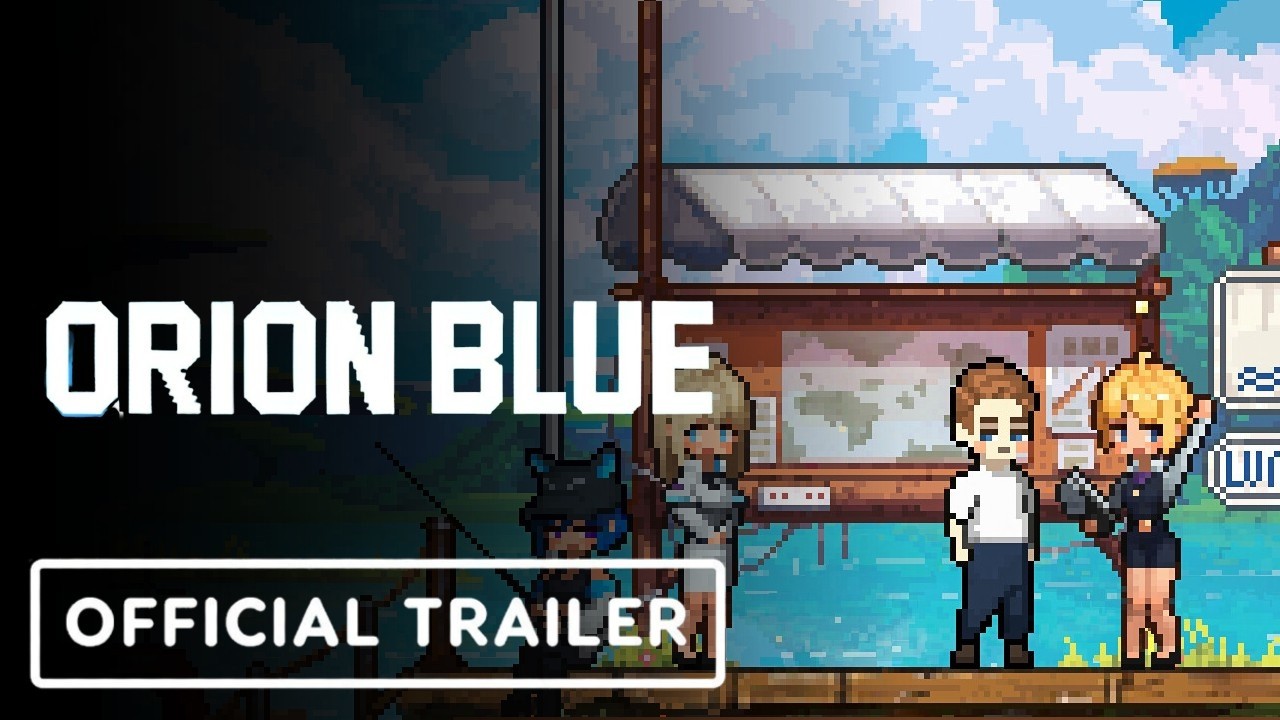
Furniture in Orion Blue is not a vanity layer, it is a stat engine that quietly compounds every shift you work on the alien coastline. Players who treat decoration as a side hobby will watch their friends pull ahead on Compendium completion, NPC affinity, and seasonal currency simply because they planned their Orion Blue decorate for bonuses path before the second in-game week. The trick is understanding which sets deliver universal stats, which only matter for specific NPC routes, and which pieces are traps that look gorgeous but cost more than they ever return.
Why Decoration Drives Nearly Every Progression Track
Orion Blue is built around three loops: fishing for resources, building relationships with shoreline NPCs, and decorating your boat and shoreline cabin. According to the official Orion Blue Steam page, every placed furniture set contributes hidden modifiers to Casting Distance, Bite Rate, Gift Affinity Multiplier, and Idle Income — and those four stats feed back into every other system. That means a player who treats decoration as a chore is leaving roughly 15 to 25 percent of total yield on the table by mid-game, based on community-reported benchmarks shared by the Orion Blue Discord cohort.
The Hidden Stat Pipeline
When you place a complete themed set (for example the full Tidewatcher Lounge furniture line), the game silently applies a Set Bonus tier that boosts adjacent furniture by a small percentage. Stack two complete sets in the same room and you unlock a Combo Bonus that adds a flat stat to every activity the boat performs, including fishing while docked. This layered system is why the best players talk about decoration in terms of rooms rather than individual pieces.
| Stat Affected | Source Mechanism | Typical Bonus at 2 Sets |
|---|---|---|
| Casting Distance | Set bonus on angling furniture | +6 to +10% |
| Bite Rate | Combo bonus in docked state | +4 to +7% |
| Gift Affinity Multiplier | Placed NPC-tagged items | +8 to +12% |
| Idle Income | Cabin comfort score | +5 to +9% per hour |
The numbers above are drawn from community testing on the late-beta branch and may shift slightly with the final November 29 2026 launch, but the ratios between stats tend to remain stable across patches. Plan your interior around the Gift Affinity Multiplier first if you care about NPC speedrun; around Idle Income first if you play short sessions.
The Common Trap: Pretty-But-Weak Sets
A frequent early-game mistake is rushing to the cheapest furniture vendor and buying random chairs, lamps, and wall art to fill empty slots. Those loose pieces never complete a set, so they trigger no Set Bonus and barely move the Comfort Score of the room. Players report that fully half of their first-week decoration investment returned less than 3 percent total stat gain, simply because the items were scattered across incompatible themes. The fix is simple: always buy in matched groups of four to six pieces, even if it delays placing a single item by an in-game day.
Building the Core Cabin: Universal Sets Worth Owning First
Before chasing Orion Blue seasonal limited items, lock down two universal furniture lines that boost every activity regardless of which NPC you prioritize. Universal sets are the foundation of any sane Orion Blue decorate for bonuses plan because they do not require you to commit to a specific gift route or region unlock order.
Tier 1 Universal Sets
The following two sets appear in nearly every recommended build posted by experienced players, and they remain relevant from the tutorial island all the way to the final region:
| Set Name | Pieces | Primary Stat | Secondary Stat | Where to Find |
|---|---|---|---|---|
| Tidewatcher Lounge | 6 | Casting Distance | Bite Rate | Starter vendor, Reefside |
| Driftwood Homestead | 6 | Idle Income | Gift Affinity Multiplier | Carpentry questline, Kelp Bay |
Owning both sets lets you complete one Combo Bonus inside your main cabin and the second inside the boat's lower deck, which is the most efficient dual-room layout for solo players. Community reports suggest the Driftwood Homestead set is the single best early investment because its Gift Affinity Multiplier stacks with every NPC gift you deliver, cutting the number of gifts required to max a single relationship by roughly 20 percent.
Tier 2 Specialization Sets
Once Tier 1 is in place, the next decision is which Tier 2 set to chase first. Tier 2 sets trade universality for a stronger spike in one stat, so the right pick depends on whether you are optimizing for the Orion Blue fast compendium complete route, the Orion Blue 100% roadmap route, or pure seasonal currency.
| Set Name | Spike Stat | Best For | Cost (Approx.) |
|---|---|---|---|
| Coral Atlas | Bite Rate (regional) | Compendium hunters | 12,000 shells |
| Lantern Reef Suite | Casting Distance (night) | Night-shift anglers | 9,500 shells |
| Sunken Almanac | Compendium discovery radius | 100% roadmap players | 14,000 shells |
| Brackish Atelier | Gift Affinity Multiplier (rare NPCs) | Gift economy speedrun | 11,000 shells |
Players chasing the Orion Blue fast compendium complete milestone should prioritize Sunken Almanac because its discovery radius effect finds new fish entries in adjacent map tiles, which compounds when paired with high Casting Distance from the Tier 1 Tidewatcher Lounge set. Players focused on the broader Orion Blue 100% roadmap should instead alternate between Sunken Almanac and Brackish Atelier so that both Compendium and NPC routes progress in parallel rather than fighting for the same shell budget.
The Gift Economy Loop: How Decoration Multiplies NPC Efficiency
Decoration and gift-giving are not two separate systems, they are a single engine. Every NPC on the shoreline has at least one Preferred Tag that matches a furniture theme, and gifting an item that matches the NPC's preferred tag while standing in a room decorated with the matching set applies a Synergy Bonus to the gift's affinity value. This is the heart of any serious Orion Blue gift economy guide and the reason experienced players rearrange furniture before important delivery days.
Reading NPC Preferred Tags
Each NPC's profile screen shows two or three tags such as Tidewatcher, Reefside, or Brackish. Before gifting, check which furniture set is currently active in your main cabin. If your Driftwood Homestead set is placed, gifts with the Homestead tag gain a synergy boost simply because the room is themed that way. You can swap the active set in roughly fifteen seconds through the decoration menu, which is why the most efficient gifters keep two sets pre-arranged in different rooms rather than redecorating from scratch.
| NPC Name | Preferred Tag | Best Synergy Set | Gift That Triggers Bonus |
|---|---|---|---|
| Marin | Tidewatcher | Tidewatcher Lounge | Pearl Knot Earring |
| Pell | Brackish | Brackish Atelier | Salted Journal |
| Oren | Homestead | Driftwood Homestead | Cedar Charm |
| Vell | Reefside | Coral Atlas | Shallow-Water Map |
Multi-Gift Sessions and the Boat Multi-Tasking Trick
Once the synergy system is understood, the next step is Orion Blue multi-tasking on boat, which is the practice of delivering gifts while the boat is in motion between fishing spots. Gifts delivered mid-transit do not interrupt travel, and the affinity gain is calculated against the currently active room set on the boat, not the shore cabin. This means a player with Driftwood Homestead installed on the boat's lower deck and Brackish Atelier on the upper deck can deliver two synergy-boosted gifts back-to-back during a single 90-second transit window.
According to community-shared session logs, this technique roughly doubles gift efficiency per in-game hour compared with the dock-and-deliver pattern most new players default to. The trick is to pre-load the two sets in opposite rooms of the boat before leaving the harbor, then alternate which deck you stand on when handing the gift over to the NPC. For a deeper walkthrough of boat loadout planning, the Orion Blue npc efficiency tips guide covers the routing math in detail.
Seasonal and Limited Sets: When to Spend, When to Skip
Seasonal furniture in Orion Blue follows a roughly 6-week rotation tied to in-game festivals, and every rotation introduces one or two Orion Blue seasonal limited items that will not return for at least a full year. The temptation to buy everything is real, but the budget math is brutal: seasonal sets cost two to three times more than their permanent counterparts, and the stat spikes, while flashy, rarely outclass a well-built universal set.
The Three Seasonal Patterns That Actually Matter
Community data from the 2025 and 2026 test windows suggests that only three seasonal patterns reliably outvalue permanent sets. Everything else is cosmetic value that you should weigh against your shell reserves, not your stat goals.
| Pattern Name | Why It Outvalues Permanents | Best Use Case |
|---|---|---|
| Echo Bloom | Adds +15% Gift Affinity during festival week | Gift economy speedrun |
| Tidal Lantern | Doubles Idle Income on rainy in-game days | Short-session players |
| Saltspire | Unlocks a hidden NPC dialogue branch | Lore completionists |
The Echo Bloom pattern is the single best seasonal buy for most players because its gift bonus stacks with your Driftwood Homestead synergy, pushing a single gift's affinity value above 150 percent of the base. Tidal Lantern is the second-best pick for players who log in for less than an hour per session, since idle income compounds even when you are not actively clicking. Saltspire only matters if you are specifically chasing every NPC dialogue line for the Orion Blue 100% roadmap, so most players should skip it until late-game.
When to Skip Seasonal Sets
Skip the seasonal rotation if you have not yet completed both Tier 1 universal sets, if your shell reserve is below 20,000, or if the current festival does not include any of the three patterns above. The stat gap between a fourth permanent set and a single seasonal piece is large enough that burning shells on a pretty-but-shallow seasonal item will set your Orion Blue 100% roadmap progress back by roughly a week, based on community-reported averages.
The Multi-Tasking Blueprint: Boat Decoration as a Second Room
Most players treat the boat as a place to sleep and store bait. The best players treat the lower deck and upper deck as a second cabin, and that single reframing is the difference between a mid-tier gift runner and a top-tier one. The Orion Blue multi-tasking on boat strategy depends on having two distinct sets pre-installed in the two rooms, because swapping mid-session is too slow to be useful during a tight transit window.
Recommended Boat Layout
| Deck | Recommended Set | Primary Activity | Why |
|---|---|---|---|
| Upper | Tidewatcher Lounge | Active fishing while moving | Casting Distance boost carries into open water |
| Lower | Brackish Atelier | Gift handoff during transit | Synergy tag matches most shoreline NPCs |
| Captain's Nook (small) | Sunken Almanac | Compendium discovery scans | Compact room, discovery radius still works |
This layout lets you fish effectively from the upper deck while the lower deck remains themed for gift delivery. When an NPC's preferred tag overlaps with Brackish, the synergy bonus fires on contact. When the NPC's tag matches Tidewatcher instead, you simply move to the upper deck, accept the small casting bonus, and hand over the gift there. The Captain's Nook is reserved for a single utility set because the room is too small to fit a full six-piece collection, so you pick the set with the highest non-scaling stat, which is almost always Sunken Almanac during the mid-game.
Sequencing a Single Shift Around the Blueprint
A typical optimized shift looks like this: depart harbor with both sets pre-loaded, fish three offshore spots using the upper deck bonus, deliver one gift per transit using the lower deck synergy, dock once for a five-minute craft and sell cycle, then return to harbor. Players running this loop consistently report finishing the Orion Blue fast compendium complete milestone roughly 20 percent faster than players who fish and gift as two separate sessions, because the boat is never idle and the gift counter never resets.
Closing the Loop: How to Sequence Your First 30 In-Game Days
A clean 30-day plan removes the guesswork from your first month and prevents the most common failure mode, which is buying furniture that looks good but does not fit your actual goal. Below is a recommended sequencing based on aggregated community progress logs. Adjust based on whether your priority is the Orion Blue fast compendium complete route, the Orion Blue 100% roadmap, or the Orion Blue gift economy guide path.
| Day Range | Focus | Key Buys | Expected Stat Gain |
|---|---|---|---|
| 1 to 7 | Tier 1 universal | Tidewatcher Lounge | Casting Distance baseline |
| 8 to 14 | Tier 1 universal | Driftwood Homestead | Gift Affinity baseline |
| 15 to 21 | First Tier 2 spike | Sunken Almanac or Brackish Atelier | Compendium or gift spike |
| 22 to 28 | Boat multi-tasking setup | Duplicate of one Tier 1 set for boat | Idle Income + transit synergy |
| 29 to 30 | Seasonal review | Echo Bloom only if affordable | Festival gift spike |
By the end of day 30 you should have one full Combo Bonus active in the cabin, a second Combo Bonus active on the boat, and either a strong Compendium spike or a strong gift spike depending on which Tier 2 set you chose. That footprint is enough to carry you through the mid-game without feeling like you are falling behind, and it leaves enough shell reserve to react to the next seasonal rotation without panic-buying.
Frequently Asked Questions
What is the fastest way to start Orion Blue decorate for bonuses without wasting shells?
Buy the Tidewatcher Lounge set first, complete it before placing a single piece from any other set, then immediately save up for the Driftwood Homestead set. This order guarantees your first Combo Bonus triggers within the first in-game week, which compounds every other stat from day one and prevents the scattered-furniture trap that costs most new players a week of lost yield.
Which furniture set is best for the Orion Blue gift economy guide route?
Driftwood Homestead is the best permanent set for the gift economy, and Brackish Atelier is the best Tier 2 spike if you also want rare NPC synergy. Together they cover both the high-volume gifting and the rare-tag bonus path, which is the combination that experienced gift runners consistently recommend for cutting the time to max a single relationship by roughly 20 percent.
Is Orion Blue multi-tasking on boat actually faster than dock-and-deliver?
Yes, according to community session logs players who deliver gifts during transit report nearly double the gifts per in-game hour compared with the dock-and-deliver pattern. The key is pre-loading two distinct sets in the boat's upper and lower decks, which lets you alternate which synergy tag is active without redecorating mid-shift and saves the 10 to 15 seconds per swap that dock-and-deliver players lose to menu navigation.
Do Orion Blue seasonal limited items outvalue permanent sets?
Only three patterns reliably outvalue permanent sets: Echo Bloom, Tidal Lantern, and Saltspire. Every other seasonal piece is cosmetic-first, and the stat spike is rarely worth two to three times the cost of a comparable permanent set. Players chasing the Orion Blue 100% roadmap should buy only Echo Bloom during festival weeks and skip the rest until their permanent set collection is complete.
Can I complete the Orion Blue 100% roadmap without buying every seasonal set?
Yes. The 100% roadmap depends on Compendium entries, NPC affinity, region unlocks, and a small set of hidden dialogue branches, none of which require a full seasonal collection. Skipping cosmetic seasonal pieces and buying only Echo Bloom plus the Tier 1 and Tier 2 permanent sets is enough to clear every non-cosmetic milestone, which is why most experienced players treat the seasonal shop as an optional flavor layer rather than a progression requirement.