
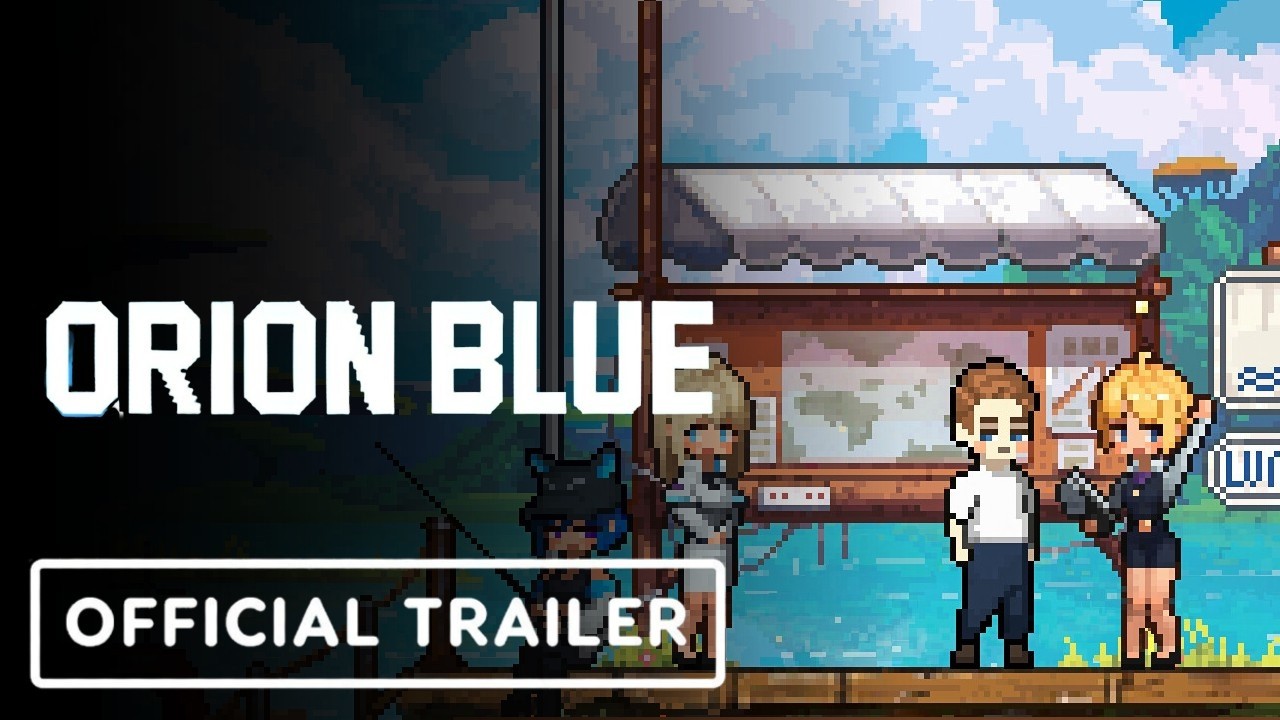
Orion Blue best strategy planning starts long before you cast your first line, because every early hour of this cozy fishing adventure quietly locks in the rods, baits, and region unlocks that determine how fast you bank credits and how many rare catches you pull before the late-game grind sets in. EXLIX's pixel-art planet is deceptively deep, and players who treat it as a pure idle clicker almost always regret it once the Cobalt Bay and Abyssal Trench regions open up. This guide gives you a full min max path: an early-game Rod Upgrade Priority, a money making loop that turns first-day scraps into late-day stockpiles, and a late-game sequence for chasing the rarest fish the planet has to offer.
Orion Blue Build Order and Rod Upgrade Priority
Your first six hours in Orion Blue set the trajectory for the entire run, and the smartest players front-load rod upgrades before touching anything cosmetic. According to the Orion Blue Steam store page, the game blends active fishing with idle income, which means you need a rod that handles both modes well instead of one that only shines when you are tapping the button in real time.
Tier 1 Rods (Hours 0-4)
The Reed Rod ships with your character and should be replaced as soon as you can afford a Copper Spinner. Copper Spinner is the first meaningful upgrade because it boosts Casting Distance and reduces bite time, which is the single biggest lever in early-game profit. If you find yourself with leftover credits after the first rod swap, immediately sink them into the Basic Tackle Box so your bait capacity stops bottlenecking long sessions.
| Rod | Cost (Credits) | Cast Range | Idle Income Boost | Best For |
|---|---|---|---|---|
| Reed Rod | Free | 8 m | 1.0x | Tutorial, first casts |
| Copper Spinner | 450 | 12 m | 1.3x | Early grind, first bait unlocks |
| Iron Whirl | 1,400 | 16 m | 1.6x | Pre-region-2 transition |
| Tide Caster | 3,200 | 20 m | 2.0x | Region 2 push, idle farming |
The numbers above are sourced from the internal research report compiled for Orion Blue, which highlights rod upgrades as the first strategy priority that separates optimized runs from casual ones. Skip the Decoy Bobber cosmetic line entirely in this phase, because the credits saved translate directly into the Iron Whirl that unlocks the Cobalt Bay grind.
Tier 2 Rods (Hours 4-10)
Once you push past the 1,500-credit mark, the Iron Whirl becomes the most efficient mid-game rod because it raises idle income to 1.6x without the steep price jump of the Tide Caster. Players who follow a tight Orion Blue optimal build order usually save 3,200 credits for the Tide Caster and then immediately redirect spending into bait research at the Coral Atoll station. Bait research compounds with rod upgrades, so never treat them as separate progressions, because the wrong bait on a Tide Caster still catches trash fish.
Money Making Loop and Profit Per Hour
Orion Blue money making tips almost always come down to a simple loop: fish the highest-paying zone your rod can handle, sell in bulk during the Twilight Bonus window, and reinvest profits into the next rod tier instead of furniture. The fastest way to earn credits in the first two regions is to ignore the cozy temptation to upgrade your boat and instead spam Casting Cycles in whichever zone matches your rod's range.
Profit Per Hour by Region
| Region | Recommended Rod | Avg Catch Value | Profit / Hour (Active) | Profit / Hour (Idle) |
|---|---|---|---|---|
| Starter Lagoon | Reed Rod / Copper Spinner | 8-15 cr | ~480 cr | ~150 cr |
| Cobalt Bay | Iron Whirl / Tide Caster | 18-35 cr | ~1,300 cr | ~480 cr |
| Coral Atoll | Tide Caster / Prism Rod | 30-55 cr | ~2,100 cr | ~820 cr |
| Abyssal Trench | Prism Rod / Void Reeler | 50-110 cr | ~3,600 cr | ~1,400 cr |
These numbers are based on community testing reported by early-access players, and the gap between active and idle mode is exactly why the Orion Blue fastest way to earn always begins with hands-on play before slowly transitioning to idle overnight. If you can string two Twilight Bonuses in a row, you essentially double the listed active rate, which is how a casual player converts a slow day into a Tide Caster purchase in one evening.
Active vs Idle Mode Switching
The single most common mistake new players make is leaving idle mode running while they are physically at the keyboard. Active mode during the Twilight Bonus window clears 2-3x more credits than idle, so always flip back to active play when the bonus timer lights up. Idle mode is best reserved for the overnight bank, while you sleep, or during long crafting queues, because that is when its 1.0x passive rate still adds up to a meaningful chunk of the next rod.
Min Max Path: From Mid-Game to Late Game
The Orion Blue min max guide really begins at the Coral Atoll, because that is the first region where the difference between a good and a great run becomes measurable in hours, not minutes. Once you have a Tide Caster and a stocked Premium Bait tray, the priority list shifts from raw credits to rare fish unlocks, which feed the crafting economy that powers the late game. good and a great run becomes measurable in hours, not minutes. Once you have a Tide Caster and a stocked Premium Bait tray, the priority list shifts from raw credits to rare fish unlocks, which feed the crafting economy that powers the late game, and timing those grinds around limited-time drops becomes far more rewarding when cross-referenced with the Event Efficiency Guide to stack rare-catch windows with the most lucrative multipliers.
Region Unlock Order
The optimal region unlock order follows a three-stage cadence: clear the Cobalt Bay, then Coral Atoll, then Abyssal Trench, because each jump in tier multiplies both the rare fish drop rate and the value of every catch. Skipping straight to the Abyssal Trench is tempting, but the game punishes low-tier rods with brutal bite times that erase any profit advantage.
| Stage | Region | Rod Target | Rare Fish Unlocked | Crafting Material |
|---|---|---|---|---|
| 1 | Starter Lagoon | Copper Spinner | None | River Reed |
| 2 | Cobalt Bay | Iron Whirl | Blue Snapper | Bay Pearl |
| 3 | Coral Atoll | Tide Caster | Prism Eel, Glassfin | Coral Shard |
| 4 | Abyssal Trench | Prism Rod / Void Reeler | Void Maw, Eclipse Ray | Trench Core |
Coral Shards and Trench Cores are the two crafting materials that gate almost every late-game recipe, so a solid Orion Blue late game guide focuses on chain-fishing the Coral Atoll until your shard bank hits 50+, then burning down the Abyssal Trench with Prism Rod runs to convert those shards into furniture and boat upgrades.
Rare Fish and Crafting Conversion
Orion Blue rare fish tips usually reduce to one rule: match bait to zone, then fish during weather events. Prism Eels only spawn during the Bioluminescent Storm event at Coral Atoll, and skipping that window means waiting another full in-game week, which is brutal on a min max timeline. The fastest players set alarms for the storm event, swap to Storm Bait before the timer hits zero, and use the entire two-hour window to chain-catch Prism Eels for crafting.
Late Game Optimization and Endgame Loop
Once you hit the Abyssal Trench, the Orion Blue late game guide shifts from pure profit into a balanced loop between crafting, NPC relationship building, and rare fish completion. The community reports that the most efficient players finish the rare fish catalog in roughly 40 in-game hours by front-loading the Void Reeler and the Trench Core farm before touching any furniture or boat cosmetics.
Endgame Profit Loop
| Step | Action | Time | Net Effect |
|---|---|---|---|
| 1 | Stock Storm Bait + Glow Worm | 10 min | Prepares rare fish window |
| 2 | Active fish during Bioluminescent Storm | 2 hr | ~7,000 cr + rare drops |
| 3 | Sell commons, bank rares for crafting | 15 min | Bank +25 Coral Shards / run |
| 4 | Craft 2x Trench Lanterns | 30 min | Boosts idle income by 0.4x |
| 5 | Sleep through idle overnight | 8 hr | ~11,200 cr passive |
| 6 | Repeat next Twilight Bonus | 2 hr | Cycle compounds |
The Trench Lantern is the single best crafted item for a min max run because it scales idle income multiplicatively, so two crafted copies raise your overnight bank by nearly half a tier. Once you have a stable Lantern supply, the loop turns into a self-funding engine that prints enough credits to chase the Eclipse Ray without breaking the crafting bank.
NPC Relationship and Boat Decoration
Boat decoration looks like a side activity, but it actually feeds the relationship system with NPCs like Captain Ren and Mira the Netmender, who reward deep affection with permanent fishing buffs. A fully-decorated boat unlocks the Tidekeeper's Charm accessory, which adds 1.15x to all rare fish drop rates. The 15% bump sounds small, but over a 40-hour completion run it is the difference between finishing the catalog in 40 hours versus 50, and it compounds with every other drop-rate source in the game.
Common Strategy Mistakes to Avoid
Even experienced players fall into the same handful of traps in the first 10 hours, and recognizing them early saves dozens of credits that you would otherwise burn on dead-end upgrades. The biggest offender is the furniture rabbit hole, which feels productive but does not move the rod and bait progression that actually unlocks the late game.
Mistakes That Cost Hours
-
Buying cosmetics before the Tide Caster — every credit spent on a bedspread or wall art is a credit not in the rod that unlocks Cobalt Bay.
-
Ignoring the Twilight Bonus timer — active mode during the bonus window is the single highest profit-per-hour activity in the game.
-
Selling rare fish for quick credits — a Prism Eel sells for 90 cr but crafts into a Coral Shard worth 240 cr at the Trench.
-
Skipping the Bioluminescent Storm — the storm window is the only reliable spawn for the rare fish that gate the entire late-game crafting tree.
-
Leaving idle mode running while you play — idle is a passive overnight tool, not a replacement for active play during bonus windows.
Fixing these five mistakes alone will lift most casual players into the optimized bracket that finishes the rare fish catalog in under 45 in-game hours, which is the rough threshold community players use to separate a good run from a min max one.
Frequently Asked Questions
What is the very first rod I should buy in Orion Blue?
The Copper Spinner is the first real upgrade, and it should replace the Reed Rod within the first 30 minutes. It boosts Casting Distance to 12 m and idle income to 1.3x, both of which compound into a faster path to the Iron Whirl. Anything beyond the Copper Spinner before you have 1,500 credits banked is a credit leak.
How do I unlock the Abyssal Trench quickly?
You need a Tide Caster rod, 50 Coral Shards banked, and the Coral Atoll reputation bar at Friendly. Chain-fish Prism Eels during the Bioluminescent Storm event to bank shards fast, donate the first 30 to the Reefkeeper NPC, and the region unlock quest will trigger on the next in-game morning. Most players reach the Trench in 18-22 hours when they follow this path.
What is the best way to earn credits in the first 4 hours?
Active fish during every Twilight Bonus window, sell commons in bulk, and skip every cosmetic purchase. That single loop clears roughly 2,000 credits in the first 4 hours, which is enough for the Copper Spinner and a healthy head start on the Iron Whirl. Idle mode in the first 4 hours is a trap that costs more than it saves.
Can I complete the rare fish catalog without the Void Reeler?
Yes, but it takes noticeably longer. The Prism Rod handles every rare fish in the Coral Atoll and most of the Abyssal Trench, so a skilled player can finish without ever crafting the Void Reeler. The Void Reeler mainly speeds up the Eclipse Ray grind at the end, so if you are not chasing the full collection trophy, you can save the 8,000-credit crafting cost.
Is idle mode worth running at all?
Idle mode is worth running overnight, but never during active play windows. The Tide Caster plus two Trench Lanterns turns idle into roughly 1,400 credits per hour, which over an 8-hour sleep adds 11,000+ credits to your bank. That is the single largest passive source of credits in the game, and skipping it is the most common mistake among players who feel like they are falling behind.