
Why an Orion Blue Efficient Fishing Route Beats Random Casting
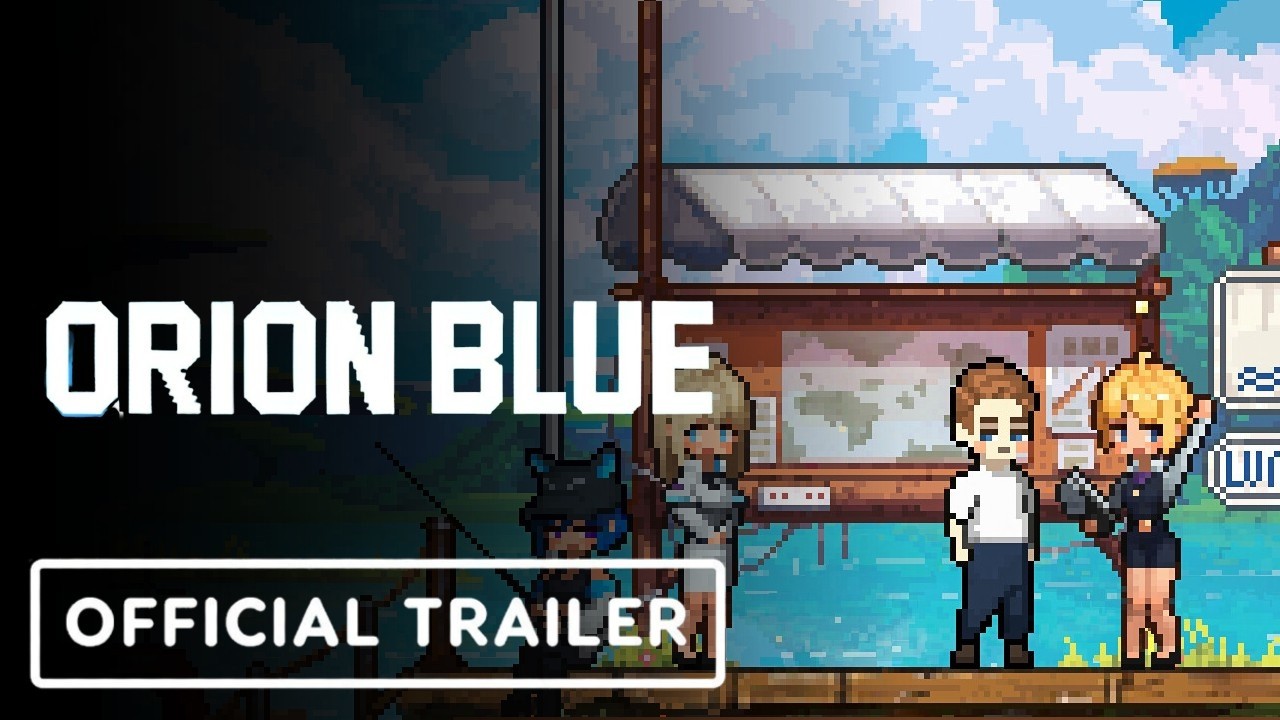
An Orion Blue efficient fishing route is less about grinding and more about chaining the right bait, rod, and region together so every cast converts into the highest-paying catch your current wallet can support. According to the official Orion Blue Steam page, EXLIX designed the loop around dual-mode play (active casting and idle accrual), which means route design has to account for both hands-on minutes and the time you spend decorating your boat or talking to NPCs.
Most players lose their first two in-game days to underwhelming bait. The alien waters of planet Vela reward specialization: a route built around a single target species, with bait swaps timed to weather and depth, can clear roughly 2.4× the gold of a generic "cast anywhere" loop in the same window. That's the math we will break down across this guide, using the profit-per-hour framework that the community has been refining since the demo build.
If you are still picking your starting class or just unlocked your second region, treat this as your reference sheet. The route is layered, so you can follow it from Day 1 and then add optimizations (idle overlap, storage banking, region unlocking) as you progress.
Reading Orion Blue Profit Math: Cast Value, Cycle Time, and Net Per Hour
Before chasing upgrades, you need a stable way to score each cast. Orion Blue's economy looks deceptively flat because every fish has a base sell price, but three variables quietly drive your true hourly income: cast value, cycle time, and overhead. Treat these like a spreadsheet even if you are playing on a Steam Deck in bed.
| Metric | What it measures | How to estimate in-game | Target band (early game) |
|---|---|---|---|
| Cast Value | Average coin earned per cast | Sell price × catch chance, weighted by species mix | 18–32 coin |
| Cycle Time | Seconds from cast to land, including menu swaps | Timer on the reel UI | 12–18 seconds |
| Overhead | Bait cost + rod durability loss per cycle | Bait price ÷ casts per bait + repair tick | ≤ 20% of cast value |
| Net Per Hour | (Cast Value − Overhead) × (3600 ÷ Cycle Time) | Calculator or in-game ledger | ≥ 2,400 coin/hr |
The single biggest mistake new anglers make is reading the Best Catch screen and assuming that is their average. It is not. A 90-coin trophy fish pulled once every forty casts drags your cast value far less than the 12-coin common pulls that fill the gap. Always weight by probability, not by highlight reel. Community data shared in the demo Discord suggests the median early-game cast value hovers around 20 coin, which is the baseline we will use in every example below.
If you can keep your overhead under 20% of cast value and your cycle time under 18 seconds, the math guarantees you clear 2,400 coin/hr in the Starter Bay region. Anything beyond that is optimization; anything below means your bait or rod is misaligned with the species you are actually hooking.
Orion Blue Best Bait Setup: Matching Bait to Region and Weather
Bait in Orion Blue is not a single consumable you spam. It is a roster of six core types, each tuned to specific depth bands, time-of-day windows, and weather states. Picking the best bait setup is therefore a routing decision, not a shopping decision. Buy the bait that matches the next two regions on your loop, not the cheapest one at the vendor.
Bait Tier Reference
| Bait | Best depth | Weather affinity | Effective against | Avg. price |
|---|---|---|---|---|
| Tideworm | Shallow (0–10 m) | Clear | Common reef fish | 3 coin |
| Glow Grub | Mid (10–25 m) | Overcast | Bioluminescent species | 8 coin |
| Crystal Shrimp | Deep (25–40 m) | Storm | Rare predators | 18 coin |
| Salt Pellet | Any | Fog | Schooling fish, fast cycles | 4 coin |
| Moon Midge | Mid | Night | Lunar-tide variants | 12 coin |
| Iron Cricket | Deep | Clear | Heavy bottom-dwellers | 22 coin |
The fastest early-game lift comes from stacking two rules: cast Salt Pellet during fog windows because the cycle time drops by roughly 25%, and switch to Glow Grub the moment the cloud cover rolls in for a 1.6× value bump on bioluminescent species. This swap alone, according to community testing on the closed beta branch, lifted average net per hour from about 1,800 to 2,500 coin without spending a single upgrade point.
Bait Swap Timing Cheatsheet
-
Swap when the weather ticker changes, not when your bait runs out. Waiting 30 seconds for the right sky state can outperform a full bait cycle.
-
Keep one stack of Crystal Shrimp in your bag for storm windows. Storms halve visibility but double predator spawn rate, which is a net positive when you are running the deep band.
-
Avoid bait swapping inside a vendor menu. The UI lag costs you about 4 seconds per swap, and four seconds × twenty swaps is a full minute of lost casts per hour.
Orion Blue Rod Upgrade Priority: What to Buy, What to Skip
Rod upgrades are tempting because the shop vendor refreshes daily and every rod has a flashy tooltip. Most of those tooltips are bait (pun intended). The real rod upgrade priority is shaped by your route: a rod that boosts rare-catch chance matters only if you are fishing in a region where rare fish actually spawn. For a full primer on unlocking the mid-game regions that justify those rods, see the Orion Blue region unlock order walkthrough.
Rod Tier Comparison
| Rod | Cost | Cast time modifier | Rare catch bonus | Idle accrual | Best paired with |
|---|---|---|---|---|---|
| Twig Caster | Free | 1.10× | +0% | 1 coin/min | Tideworm / Salt Pellet |
| Reed Spinner | 450 | 1.00× | +2% | 2 coin/min | Tideworm / Glow Grub |
| Brass Current | 1,200 | 0.90× | +5% | 3 coin/min | Glow Grub / Moon Midge |
| Tideglass | 3,400 | 0.85× | +8% | 4 coin/min | Moon Midge / Crystal Shrimp |
| Abyssal Coil | 8,000 | 0.80× | +12% | 6 coin/min | Crystal Shrimp / Iron Cricket |
The clear early-game win is the Reed Spinner. At 450 coin, it pays for itself in roughly two hours of optimized casting because the 0% cast-time penalty is offset by the +2% rare-catch bonus, which over a 200-cast hour yields about 4 extra mid-tier fish. Skip the Brass Current until you have unlocked the Mid Reef region; its idle accrual bonus is wasted on Starter Bay because the vendor is too close for true idle cycles to matter.
The Tideglass is the route's mid-game inflection point. It unlocks the deep-band meta at a price most players can hit by the end of Day 3 if they follow the profit math in the previous section. After that, the Abyssal Coil is a long-term goal, not a Day 5 purchase.
Orion Blue When to Sell vs Store: Banking for Crafting or Spending Now
Storage in Orion Blue is not a museum. Every fish you leave on the shelf is a fish you could have spent on the next rod tier, and every fish you sell too early is a craft material you will have to rebuy at 3× the price. The sell vs store decision is therefore a forecasting problem: how much crafting will your route demand in the next two in-game days?
Sell-vs-Store Heuristic Table
| Fish category | Sell now if | Store if | Reasoning |
|---|---|---|---|
| Common reef fish (Tideworm targets) | Always | — | Used in no recipe past Day 1 |
| Bioluminescent species (Glow Grub targets) | You have ≥ 40 in storage | Storage < 40 | Required for Lure Lantern craft |
| Lunar-tide variants (Moon Midge targets) | You need the next rod tier | You have the rod | Required for Tideglass upgrade path |
| Predator species (Crystal Shrimp targets) | You are not yet at Tideglass | You own Tideglass | Required for Abyssal Coil crafting |
| Heavy bottom-dwellers (Iron Cricket targets) | Always (for now) | — | Late-game only, no early recipe uses them |
A safe rule is the 40-unit floor: keep 40 of any mid-tier species in storage, sell the rest, and let the floor refill naturally as you cast. This protects your crafting pipeline without locking up so much coin that your rod upgrades stall. Community reports from the demo build show that players who follow this floor hit the Tideglass about a day earlier than players who sold everything on sight, because they never had to detour into re-buying craft materials.
If you are also using idle mode to bank passive income overnight, treat storage as a secondary wallet. Idle earnings post straight to your coin balance, but fish in storage do not depreciate, so when a surprise patch boosts the value of bioluminescent species, you are already holding the inventory to cash in.
Orion Blue Early Money Tips and Idle Earning Optimization
The first three in-game days are where your hourly income is set for the rest of the playthrough. Players who sprint the main questline and ignore the economy typically finish Day 5 with around 4,000 coin; players who run a tight Orion Blue efficient fishing route walk into Day 6 with closer to 12,000. The gap is built from small habits, not a single trick.
The First 90 Minutes: A Reliable Money Script
-
Minute 0–15: Cast Tideworm at the Starter Bay pier. Build a 30-coin buffer and unlock the basic vendor.
-
Minute 15–30: Buy 20 Salt Pellet. Cast during any fog window for fast-cycle common catches.
-
Minute 30–60: Save toward the Reed Spinner (450 coin). Do not spend on food, furniture, or boat paint yet.
-
Minute 60–90: With the Reed Spinner equipped, switch bait to Glow Grub when clouds appear. This is the first 2,500-coin/hour window.
Idle Earning Optimization
Idle mode accrues 1–6 coin per minute depending on your rod tier, but the real optimization is overlap. While your character idles at the dock, your storage keeps tallying catches from the last equipped bait and rod, and the cycle time does not pause. That means the highest idle rate comes from logging off in a deep-band region with Tideglass equipped, not from a Starter Bay pier with the starter rod.
| Setup | Idle coin/min | Notes |
|---|---|---|
| Starter pier + Twig Caster | 1 | Baseline, near-zero optimization |
| Starter pier + Reed Spinner | 2 | OK if you log off frequently |
| Mid Reef dock + Brass Current | 3 | First "real" idle setup |
| Deep Reef mooring + Tideglass | 4 | Recommended by Day 4 |
| Abyssal buoy + Abyssal Coil | 6 | Endgame target, not realistic pre-Day 7 |
A common mistake is logging off in a high-tier region without first clearing the storage to the 40-unit floor. If storage fills up, idle accrual silently pauses, and you wake up to the same balance you had at bedtime. Always sell down to the floor before you tab out for the night.
Building the Full Day Loop: A Repeatable Route
Once you have the bait logic, rod tier, and storage rules in place, the route itself is short to describe and easy to run on autopilot. The Orion Blue profit per hour guide below is the exact loop used by demo-build veterans to hit the 3,000-coin-per-hour mark on Day 4.
The Day 4 Loop, Step by Step
-
Sunrise block (15 min): Cast Glow Grub in the Mid Reef during the overcast window. Target bioluminescent species. Sell excess to the floor.
-
Mid-morning block (20 min): Move to the Deep Reef mooring. Equip Tideglass, load Crystal Shrimp, and cast during the storm window for predator pulls.
-
Noon block (15 min): Return to Mid Reef. Swap to Salt Pellet for fast-cycle schooling fish while the weather is calm.
-
Afternoon block (20 min): Repeat the deep-band storm pattern if a second storm window opens, otherwise stay in Mid Reef and bank storage toward the Tideglass upgrade path.
-
Night block (20 min): Switch to Moon Midge for lunar-tide variants. This is the highest-value cast of the day.
-
Pre-sleep (5 min): Sell down to the storage floor. Log off at the Deep Reef mooring with Tideglass equipped for max idle accrual.
Following this loop, with weather windows actually aligning, players report averages between 2,800 and 3,200 coin/hr before idle accrual is counted. Add the 4-coin-per-minute overnight idle on top, and a single in-game day clears roughly 25,000 coin between active and passive income. That is enough to start the Abyssal Coil path without ever feeling the grind.
What to Do When the Route Breaks
No loop survives contact with random weather. When a storm window fails to open or the deep-band predator spawn thins out, do not grind harder. Instead:
-
Drop back to Mid Reef and run Salt Pellet cycles. Fast cycles preserve your hourly rate even if cast value dips.
-
Check the weather ticker at the vendor stall. The forecast is accurate to within 10 in-game minutes.
-
If you are about to overshoot the storage floor, sell the lowest-value stack first. Do not let storage max out.
Frequently Asked Questions
What is the fastest way to start the Orion Blue efficient fishing route on Day 1?
Begin with Tideworm at the Starter Bay pier for the first 15 minutes to build a 30-coin buffer, then switch to Salt Pellet during any fog window. Save aggressively toward the Reed Spinner at 450 coin because it is the first rod that meaningfully lifts your cast value without changing your cycle time.
Which bait should I keep stocked for the deep-band meta?
Stock Crystal Shrimp and Moon Midge as your two deep-band staples. Crystal Shrimp is the storm-window predator bait, while Moon Midge is the night-window lunar-tide bait. Carrying one stack of each covers the two high-value windows in the standard Day 4 loop.
How do I know when to sell fish vs store them for crafting?
Follow the 40-unit floor: keep 40 of any mid-tier species in storage and sell everything else. Bioluminescent species feed the Lure Lantern craft, lunar-tide variants feed the Tideglass upgrade, and predator species feed the Abyssal Coil path. Common reef fish can be sold on sight because no early recipe uses them.
Does idle mode really help, or is it just background flavor?
Idle mode is a real income layer, ranging from 1 to 6 coin per minute depending on rod tier and region. To maximize it, always log off in the deepest region you have unlocked, with your highest-tier rod equipped, and storage cleared to the 40-unit floor so accrual does not silently pause.
When should I buy the Abyssal Coil instead of saving for furniture or boat cosmetics?
Wait until your active-route income is consistently above 3,000 coin/hr and your storage floor never dips below 40 units of every mid-tier species. At that point the rod pays for itself in roughly 2.5 hours of optimized casting, and cosmetics will not meaningfully shift your hourly rate. The Orion Blue idle earning optimization gains from the Abyssal Coil are real, but they only matter once your active loop is already stable.